
Hi everyone, in this post I would like to give you some insights regarding the famous dyeing technique called Kaga Yuzen which is used for the manufacturing of truly beautiful Kimono fabrics. Two weeks ago we had the chance to participate in an workshop where we learned all about this part of Japan’s cultural heritage as well as how to work with this technique step by step.
What is Kaga Yuzen?
Like probably most of you, I haven’t heard of Kaga Yuzen before I came to Japan. Kaga Yuzen is the unique dyeing style, mostly applied for Kimono fabrics, that uses only a certain color range of five colors. Various patterns and elements of nature and landscape, such as flowers, leaves or birds are shown on the fabric and make the Kimono extremely elegant and unique. It is very important that the natural element are illustrated in a very realistic representation of the reality. That is the essence of the Kaga Yuzen style. The technique is over 500 years old and contributed to the cultural development of the Kaga region, a former province that is now part of the Ishikawa prefecture. The complicated dyeing process consists of many steps and can take a long time until the dyeing of a fabric has finished. In the Edo period, each designer had his own specific style, so you could distinguish the Kimono fabrics by the artist, who produced them.
Kimonos that use Kaga Yuzen fabrics are - as you can imagine - very precious and expensive. In Kanazwa, there are some rental shops where you can try on these special kind of Kimonos if you want.
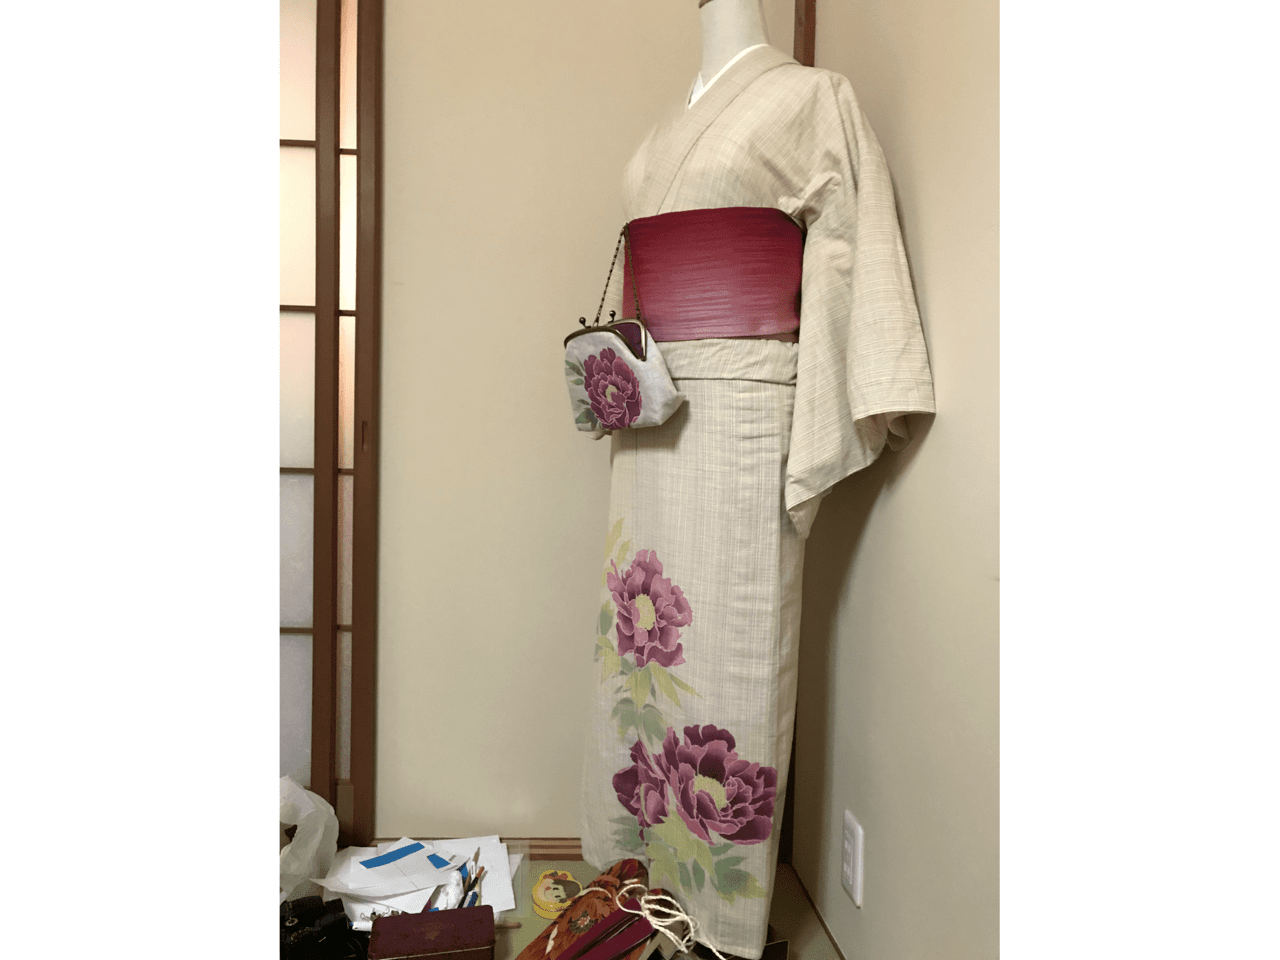 This is how a typical Kaga Yuzen Kimono looks like
Our Kaga Yuzen experience
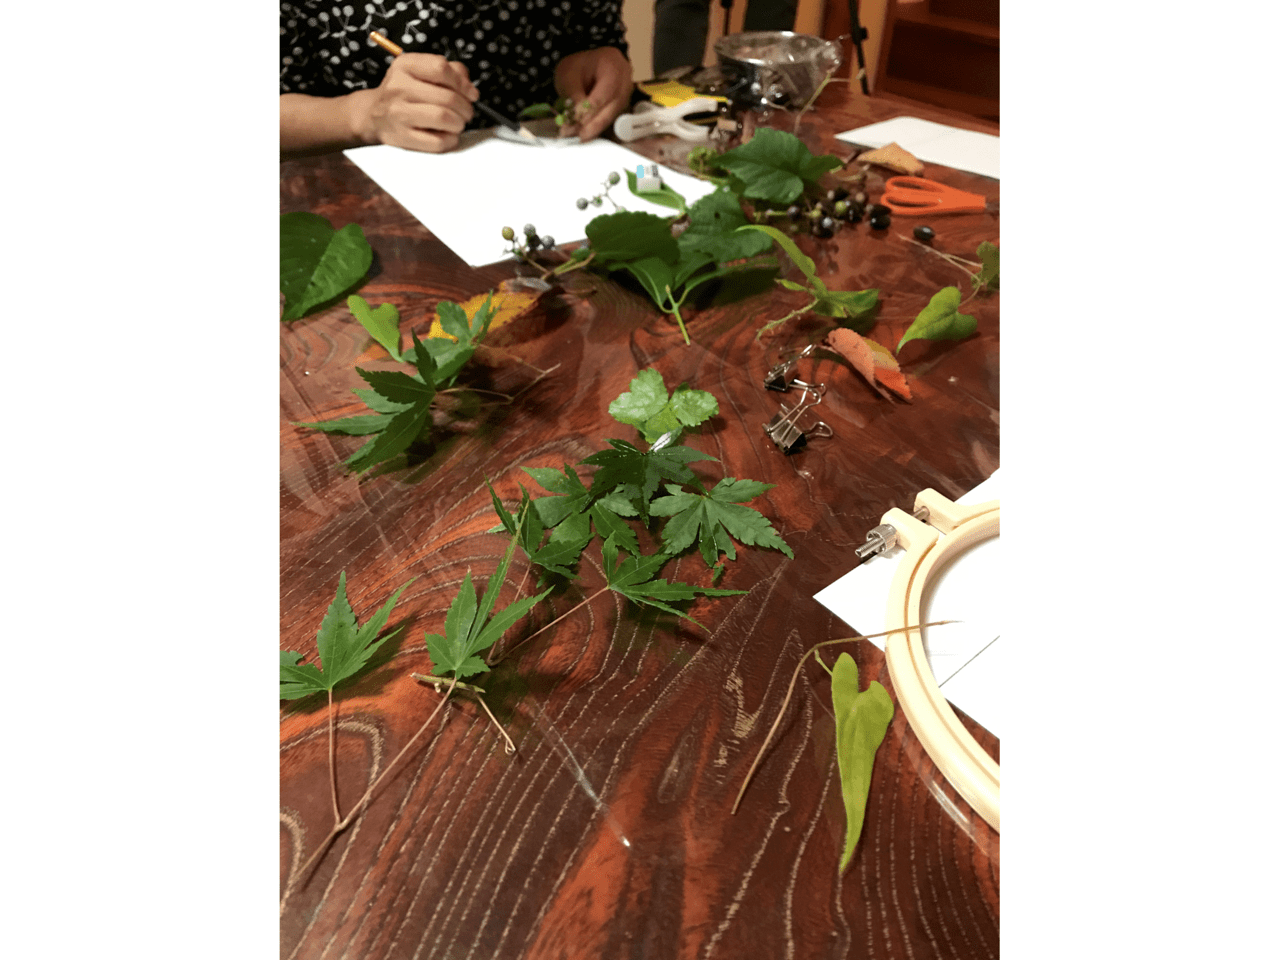
The workshop we attended was conducted by Tabitaiken, a local agency that offers different workshops and day trips for tourists in Kanazawa. A friend of us know the staff and invited us to come along on this day to learn more about Kaga Yuzen. The workshop consisted of two parts. In the morning, we had a walk through the nature of Utatsuyama to get some inspiration for the creative part of the day. Sadly, it was raining quite heavily, but we enjoyed our walk very much as we could learn a lot about different healing plants that are all growing there. We took some pictures of flowers or autumn leaves we liked and took some of the leaves with us.
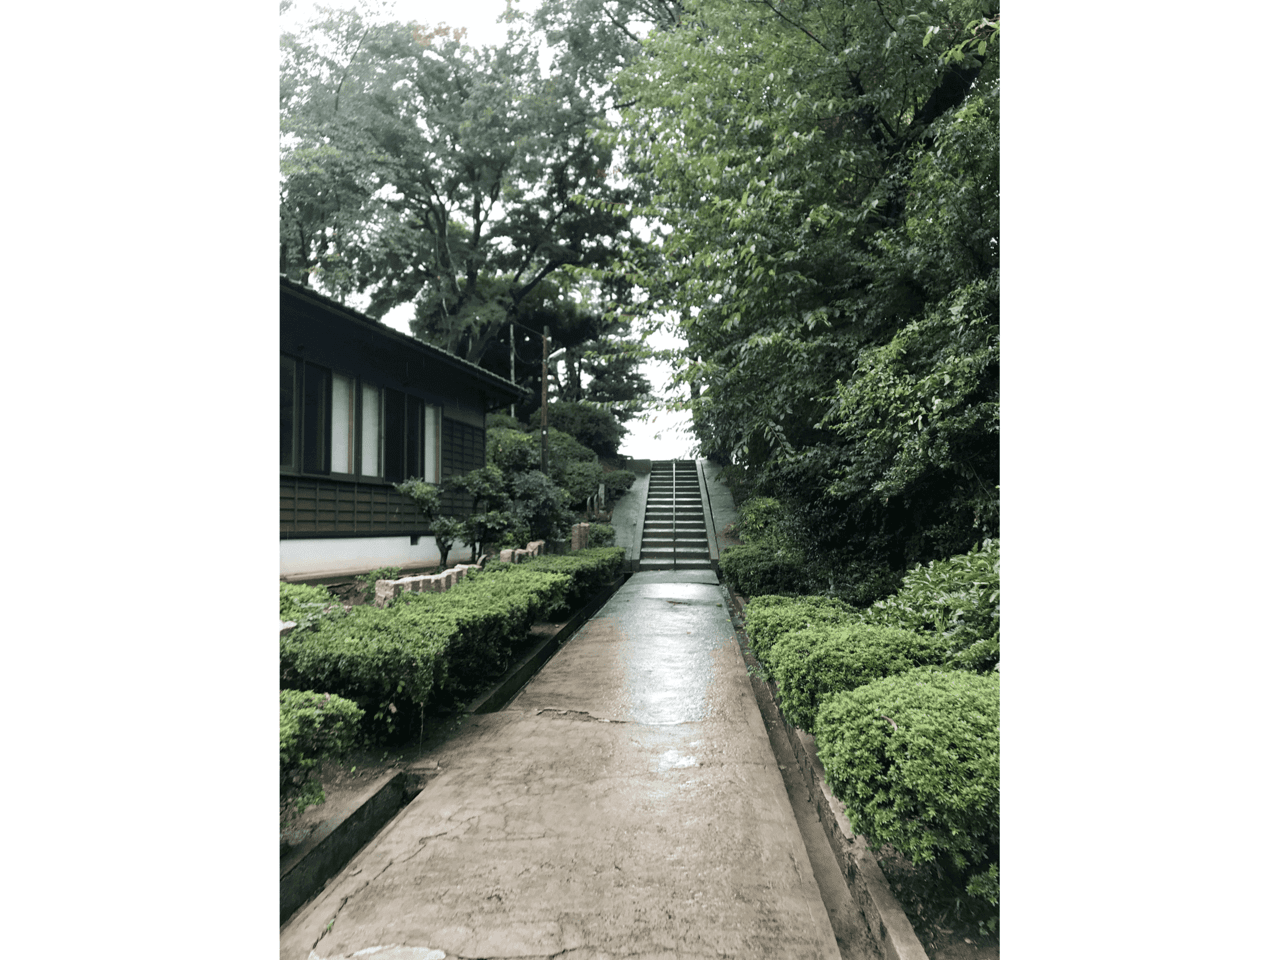 Even in heavy rain, the atmosphere of this park was so special
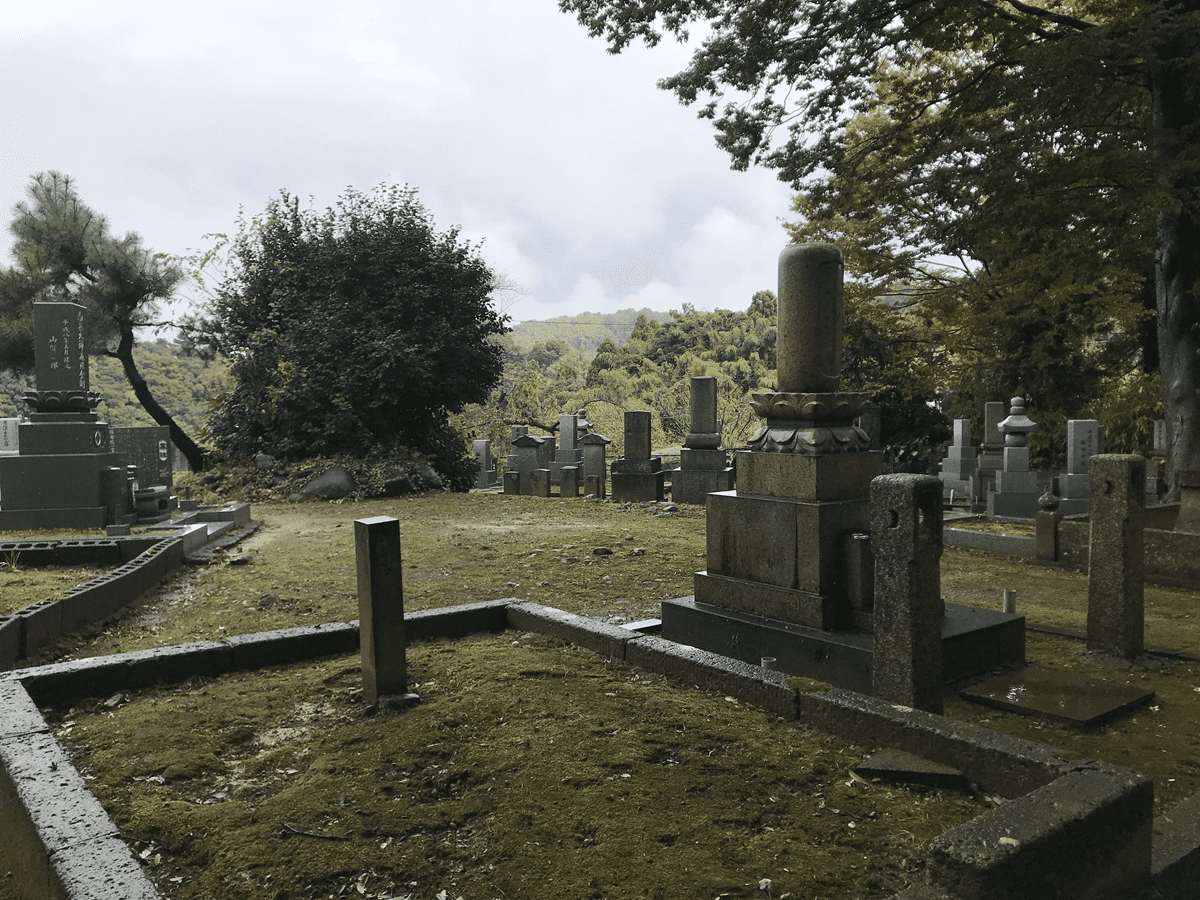
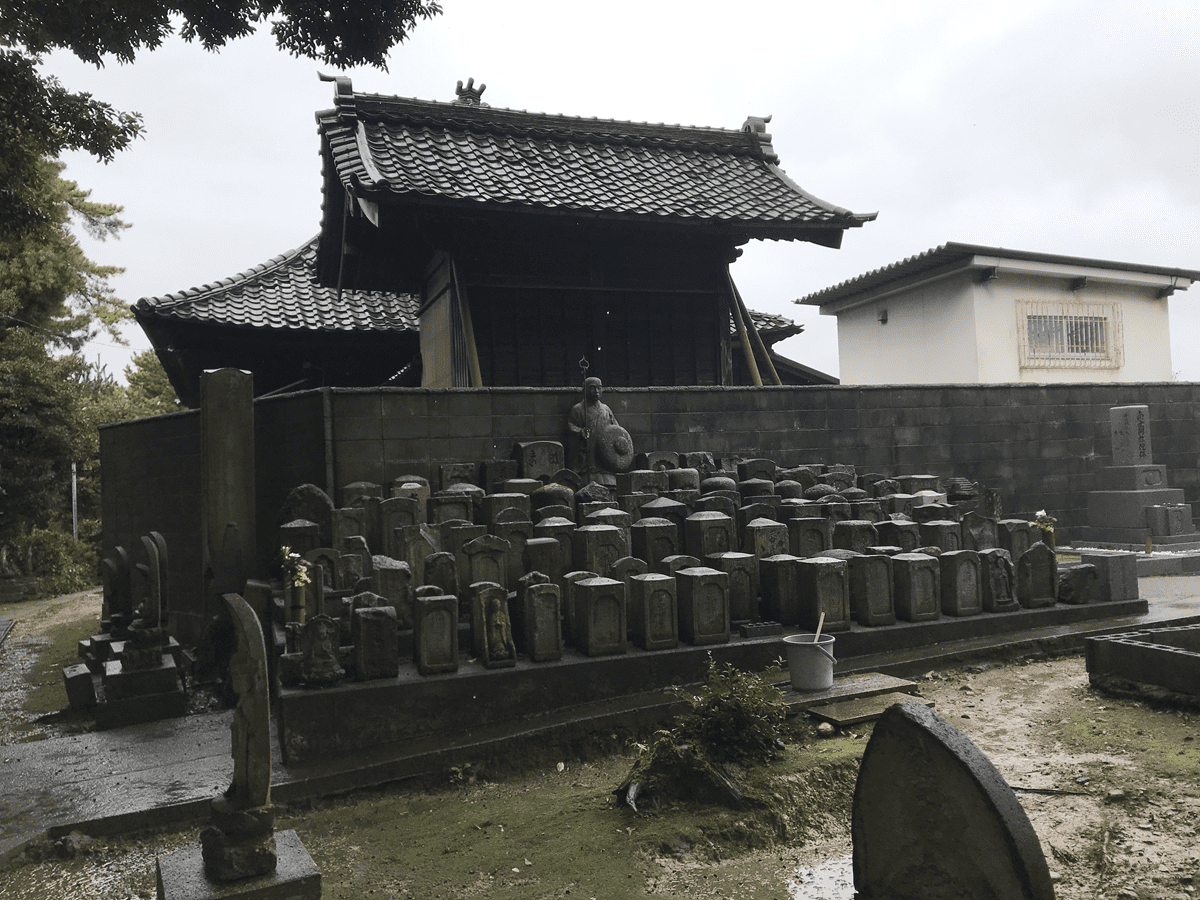 Passed an interesting temple and Graveyard
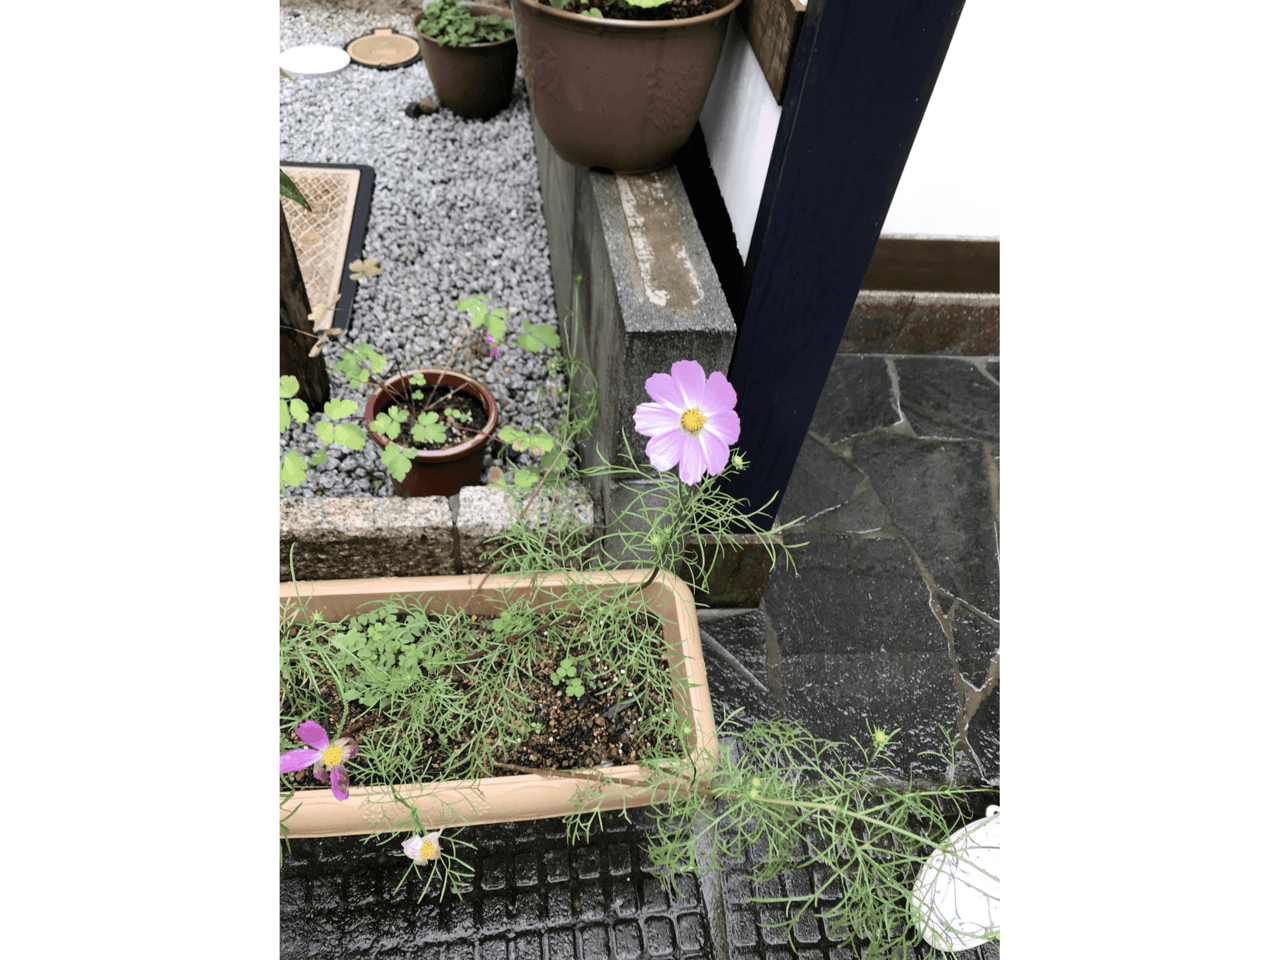 First inspiration
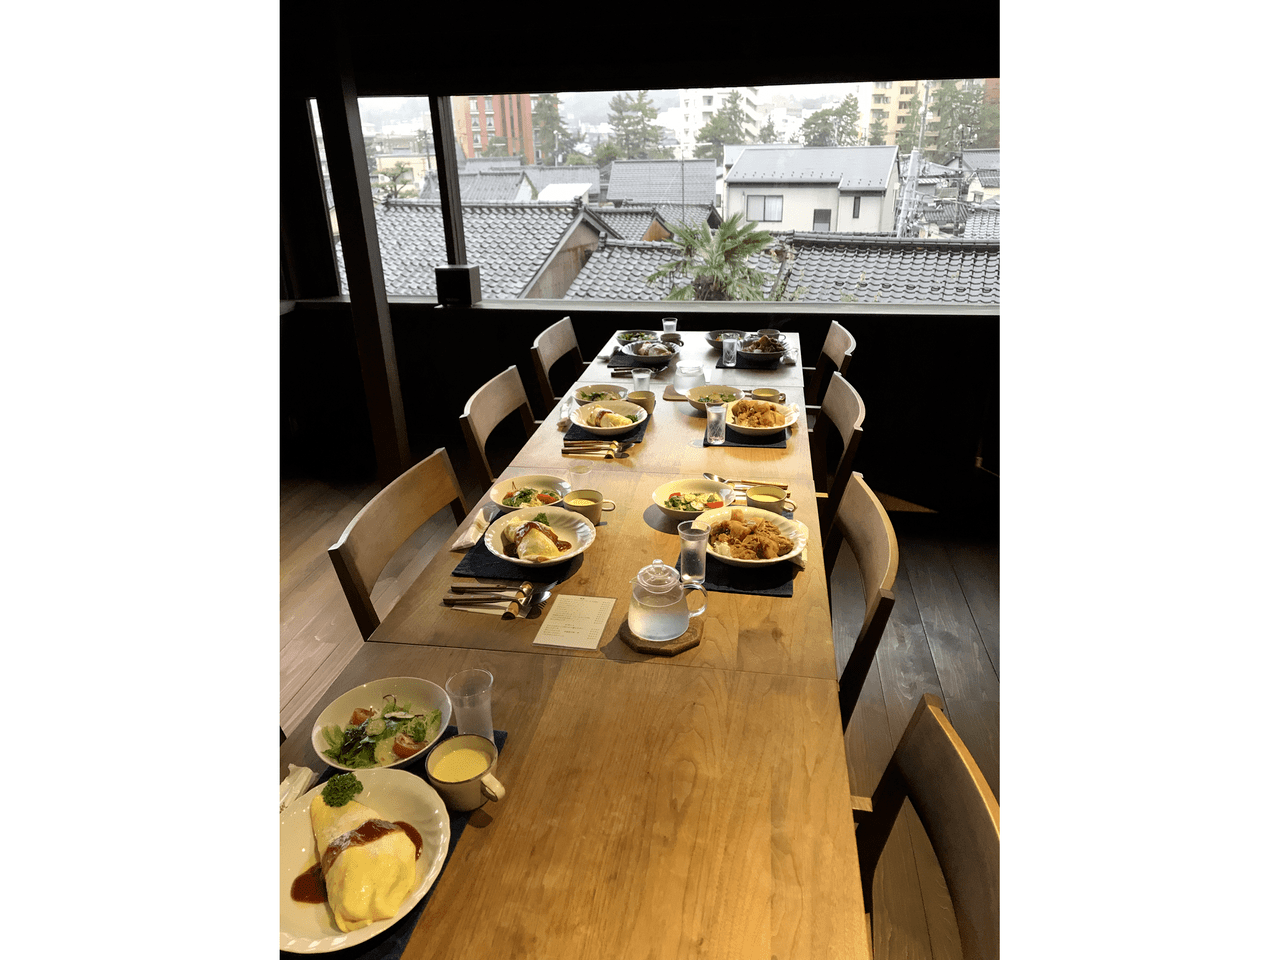
Afterwards, we had a nice lunch at a small hidden coffee shop in the backstreets of Higashi Chaya district where we admired the view over Kanazwa and waited in a warm atmosphere while a thunderstorm passed by. We enjoyed chatting with the Tabitaiken staff while having lunch and coffee.
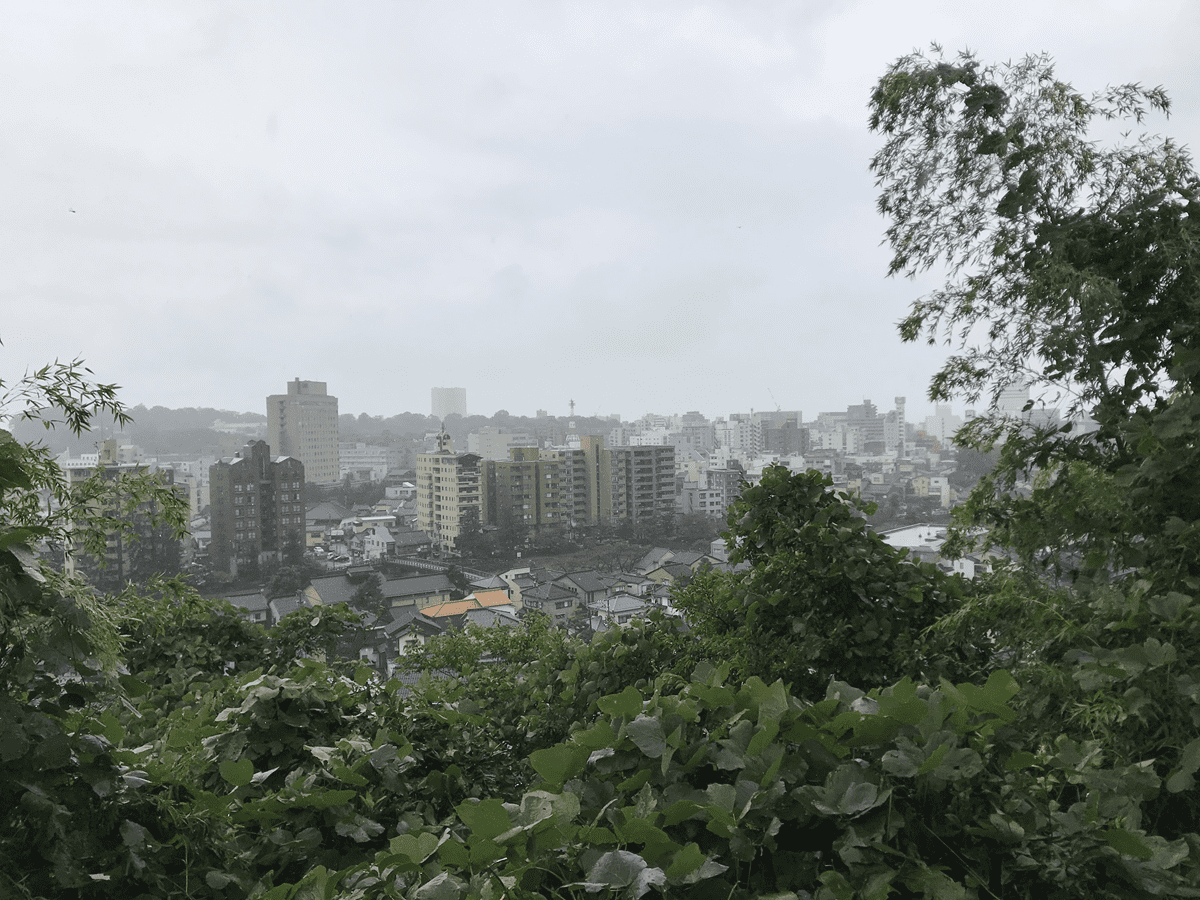 Nice view of cloudy and rainy Kanazawa
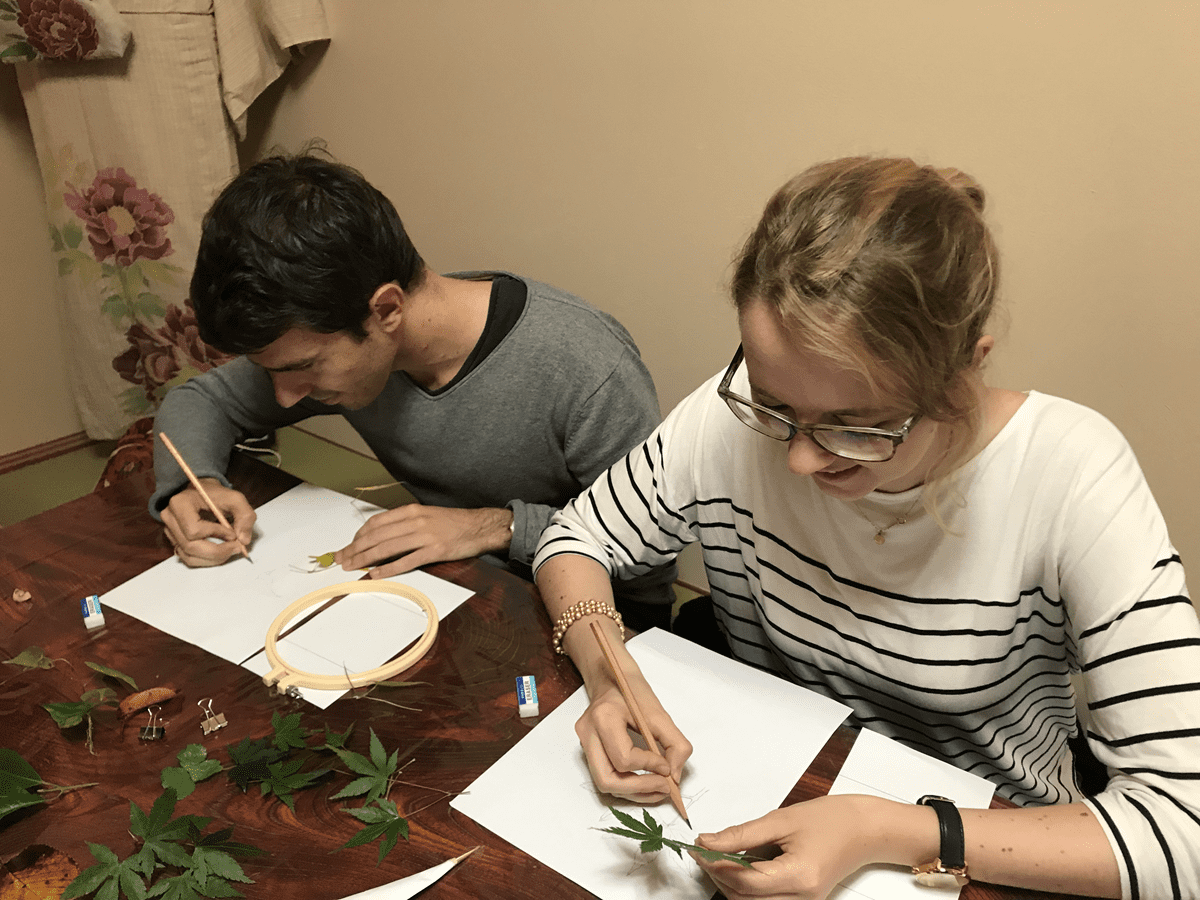
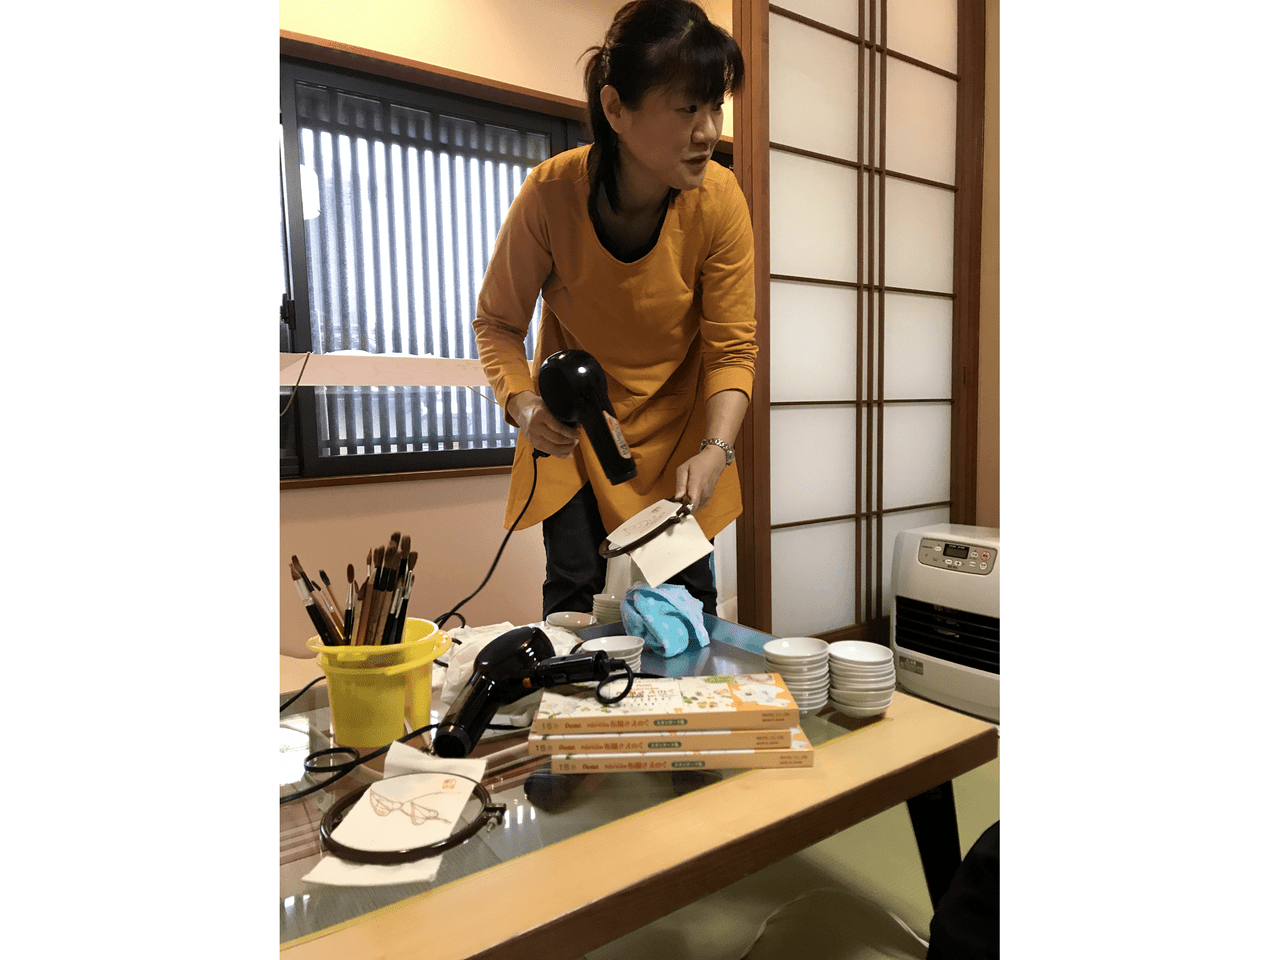
In the afternoon, the work began: we went to the atelier of the Kaga Yuzen artist who would not only introduce us to the technique but also provided us with all the material to draw our very own Kaga Yuzen design.
How does the process work?
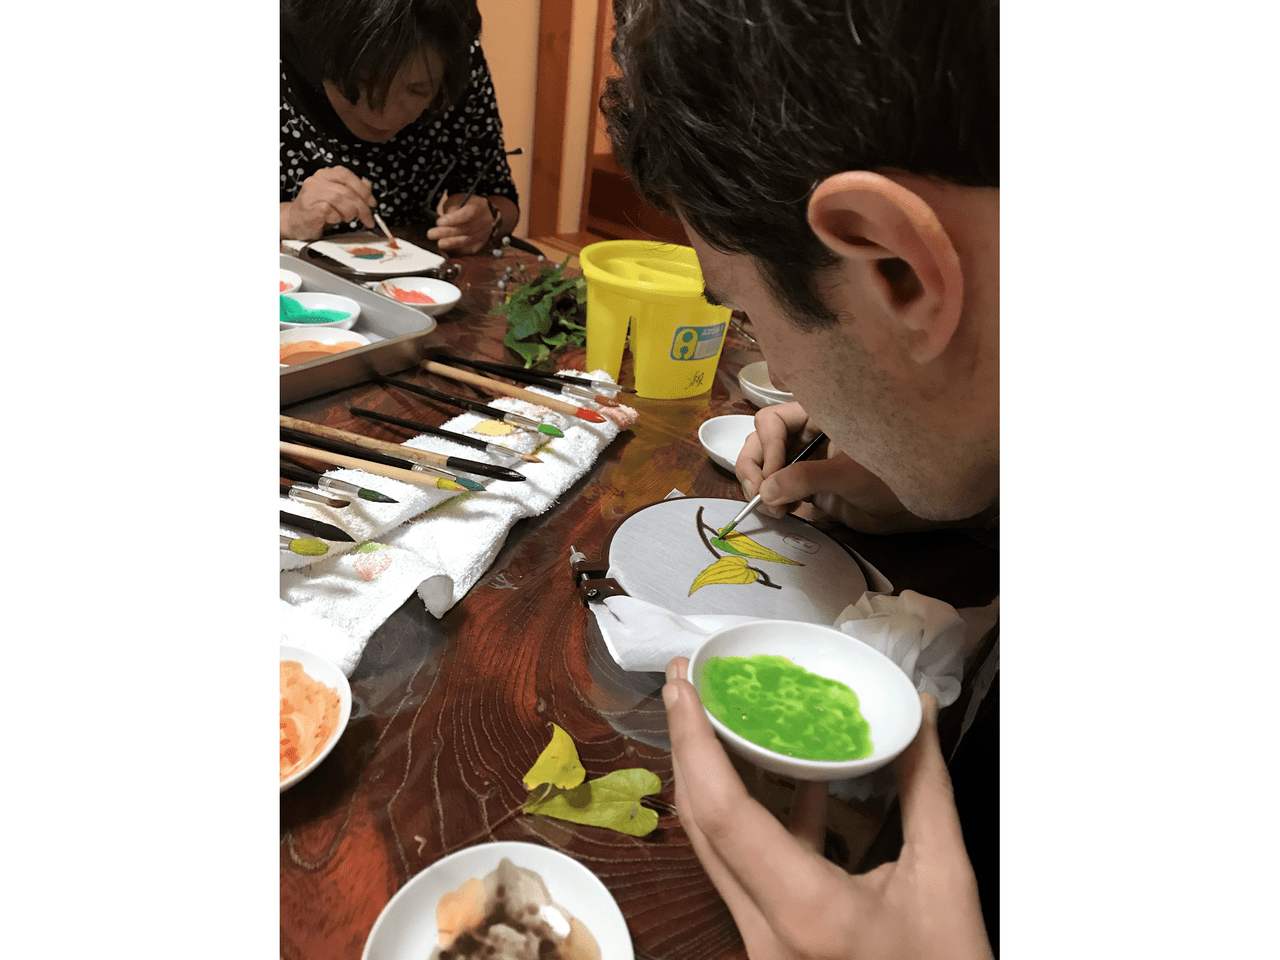
As mentioned before, the whole dyeing process is very elaborate and complicated. Niklas and I experienced ourselves how difficult it is and how diligent you have to work on each step that everything works out smoothly. At first, you make a basic sketch of the motive, you would like to put on the fabric. In our case, we chose some autumn leaves and had a hard time making a sketch that was realistic enough. You should not leave any details like broken parts of the leaves out as this is important for the realistic representation of the natural model.
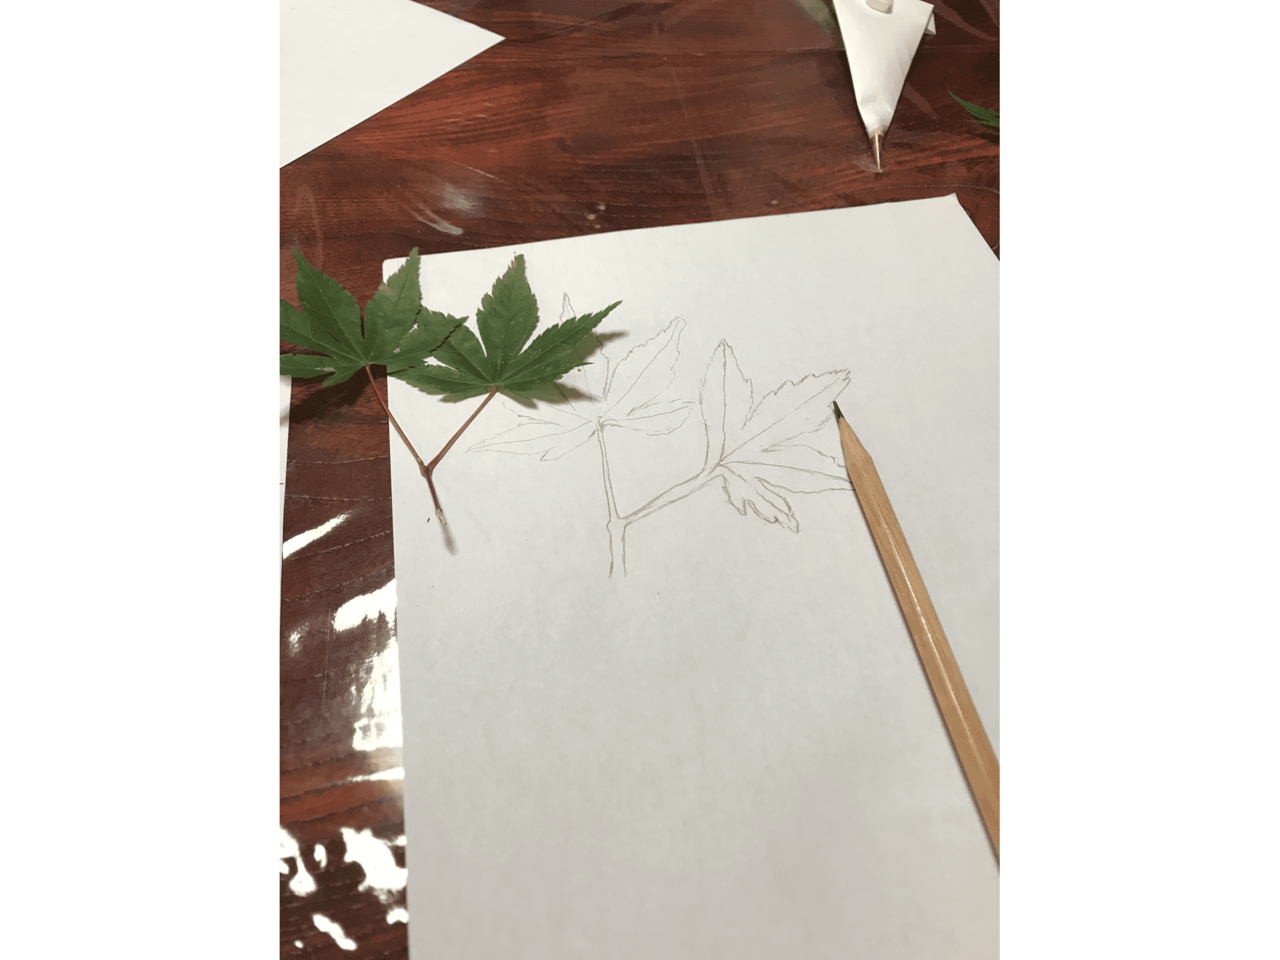
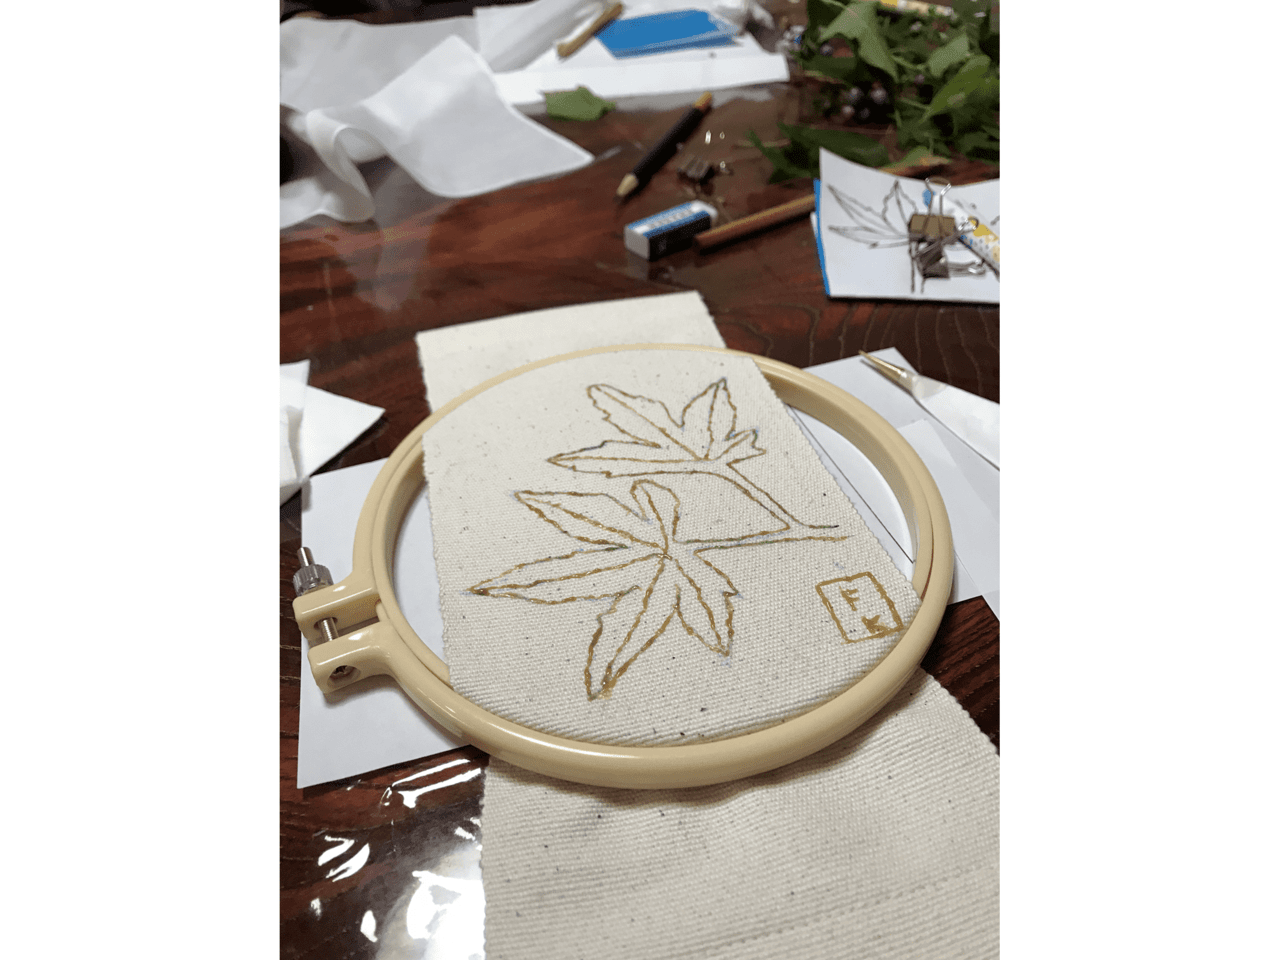
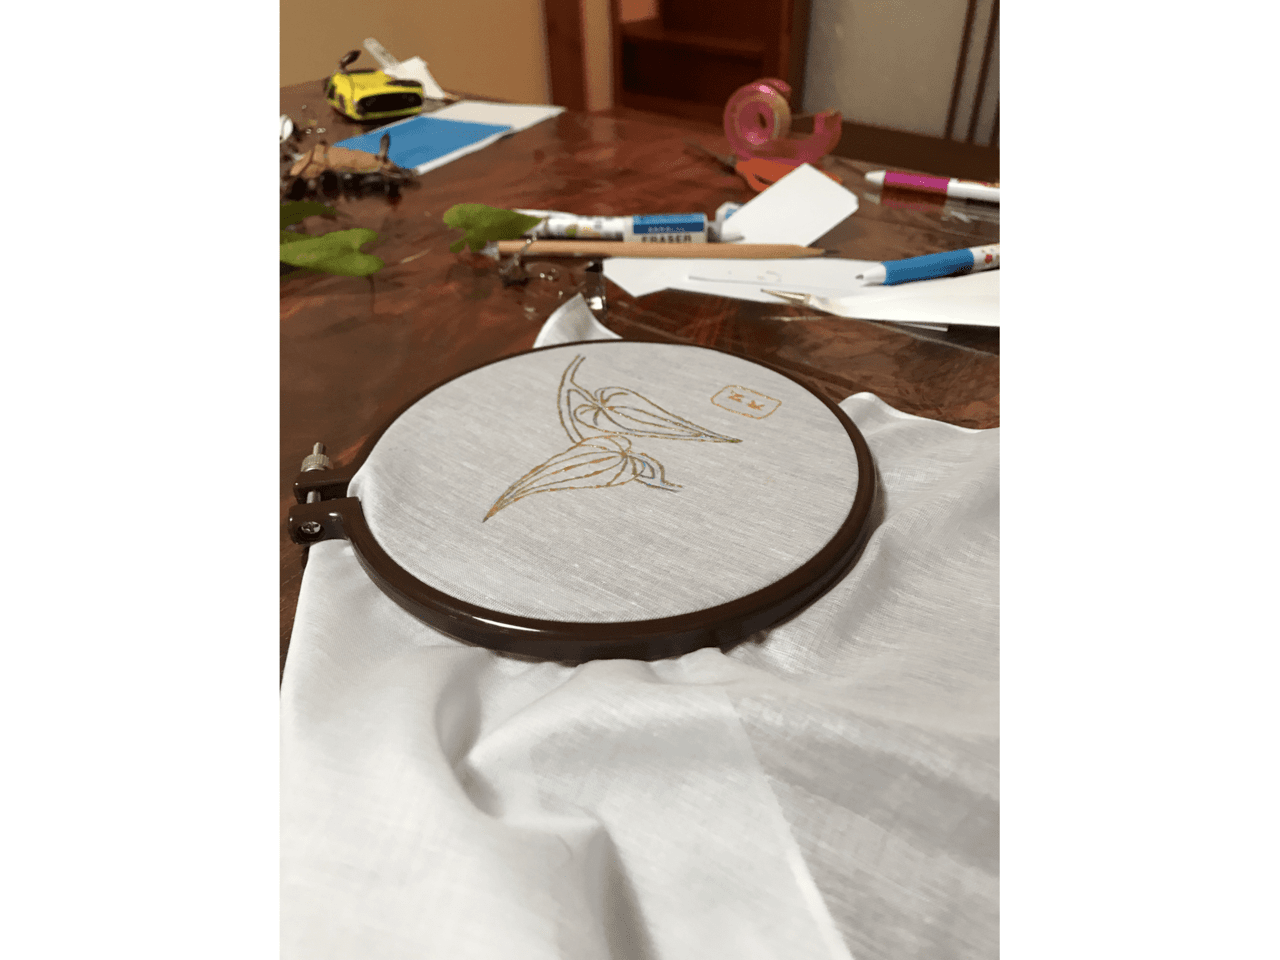
After your sketch is finished you copy it on the real fabric. Niklas was working on a handkerchief which has a very thin and soft fabric while I tried to make a tapestry picture and this fabric was much thicker. We used blueprint for putting the outline of our sketches on the fabric, which took a while as both our sketches consisted of very delicate and fine lines.
As soon as the blueprint is on the fabric, the real work starts. In order to prevent the color to spread on the whole fabric, you have to secure the contouring lines with a special glue first. This glue consists of rice paste and has to be applied on all lines of your sketch (and not just a bit, it has to be a big fat line!). It’s a very dense and chewy paste and very difficult to apply. You have to push very hard to get the right amount of paste on the line. The more delicate your linings are, the more difficult it gets. I think this whole step took about one hour for us and we were really stressed out by it!
Afterwards, you have to dry it well before the fun part begins: coloring the motive with special dye. This was really nice, we enjoyed it very much as we could now have a glimpse on how our fabric would really look like with the applied color.
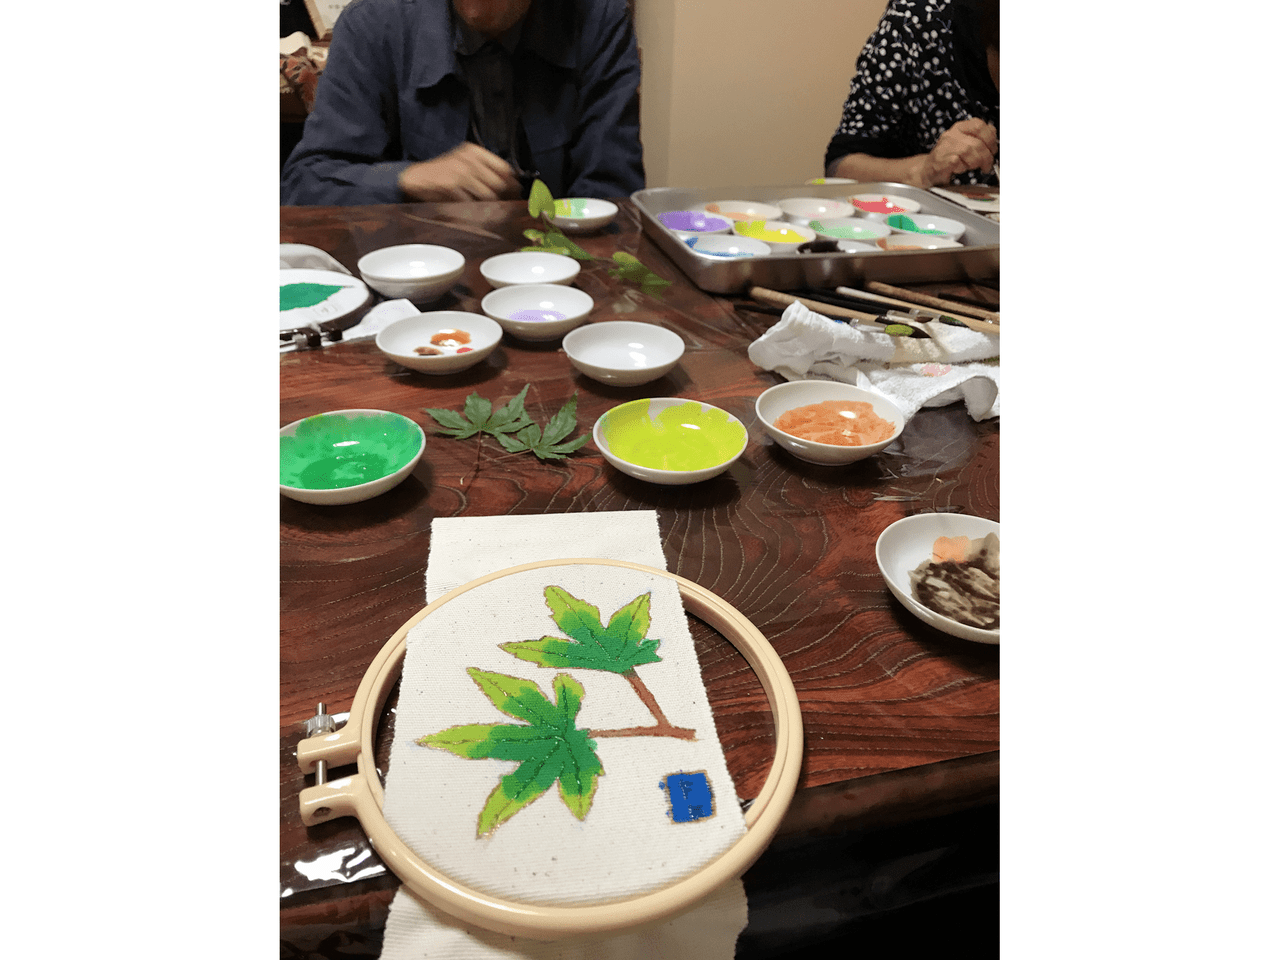
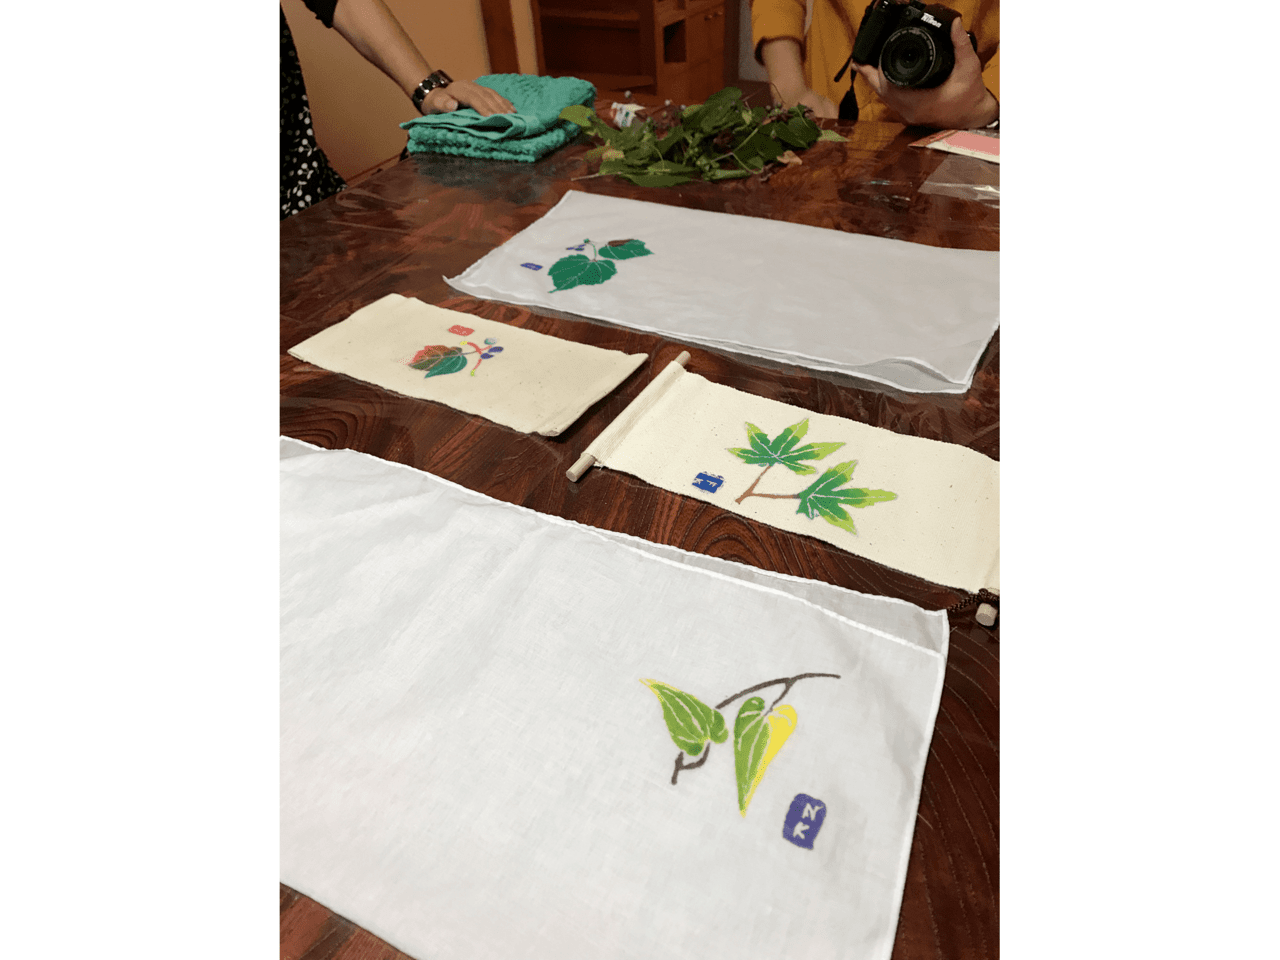
Finally, you dry it for a longer period and then you have to wash it. Now, why is that important? You have to wash the rice glue away so that these parts will be white lines and finalize the outline of your drawing.
Usually, you would also put another color on the background of the fabric, but in this workshop, there was no more time for another round of dyeing. So, these are our end products and we are really proud with the results:
Want to try it?
If you might be in Kanazawa and want to try something truly unique, we can definitely recommend you that workshop. We did learn a lot, about the technique, history and also about the flora and fauna of Kanazawa (I was very impressed to see how many plants that are growing just next to the street have healing qualities). You can book your tour at the website of Tabitaiken or via their facebook page.
We want to thank the whole team for this wonderful day and the possibility to learn so much about Kaga Yuzen and to try it out ourselves! I am sure we will book other tours with you!
Whats next`?
Stay tuned for the end of the month report: what did we experience in October? How was Niklas birthday? What about the language studies? An interesting update is soon to come. Until then, follow us on Instagram or facebook!